Blog

Homemade carburetor 1985

Added Aug 29, 2024

The passion for engines began in 1985 I remember that in the hot summers with hands dirty with gasoline and grease even a can of corned beef was useful, nothing was thrown away. You just had to make some holes, a cable tie and it became a filter for old 50cc scooters. Even today when I see it on the supermarket shelf I can't forget those days...


Read More

Gilera odometer -disassembled and reassembled

Added Jun 20, 2024

I have already dismantled and painted old speedometers. This time I had an old empty oil can in my garage that had never been thrown away. With a large hole saw I cut the sheet metal to the exact size of the original. I marked the main speed points with scotch tape and with an acrylic marker I wrote them on the glass, but on the inside. The sheet metal was too new for my tastes, so with a mixture of vinegar, hydrogen peroxide, and salt, I increased the rust that was already there. The result doesn't seem bad to me, but if you want to leave me a comment with your personal opinion, please write!

I didn't finish the outer edge because I didn't feel like it, I realize I could give it a black paint.

La vecchia ruggine è sempre bella...


Read More

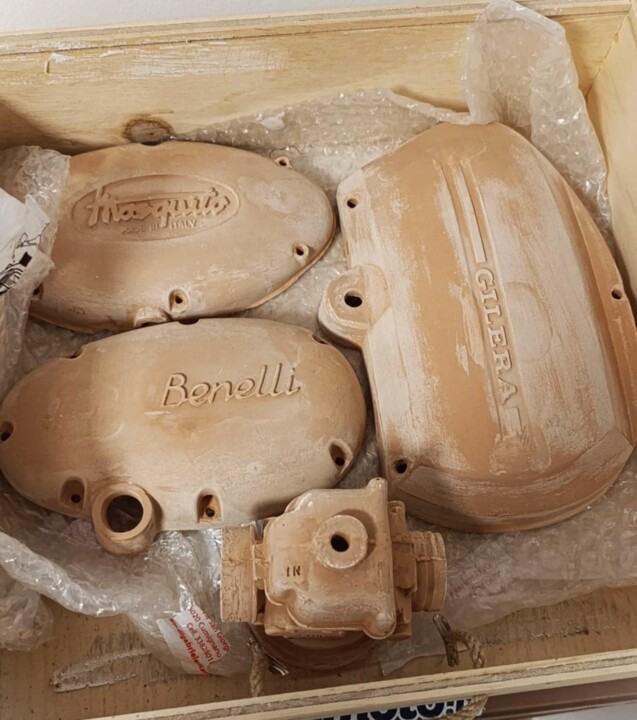
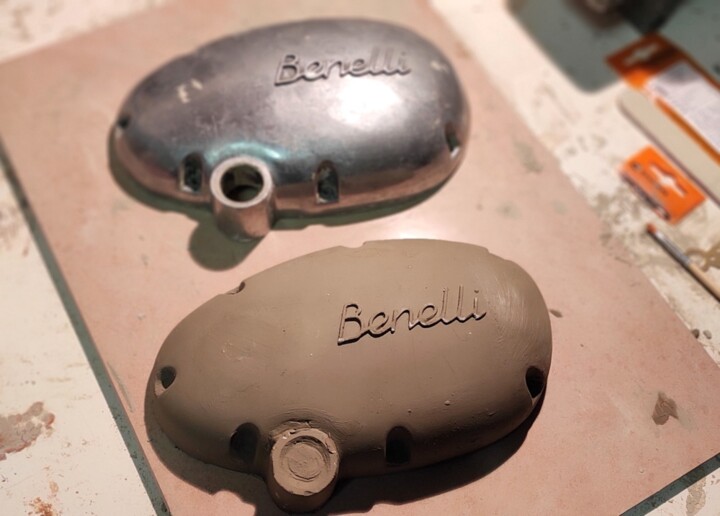
Reproduction of Benelli and Mosquito crankcases in ceramic. (Limited edition)

Added Jun 4, 2024


There are pieces of the motorbike which in my opinion are timeless iconic, like this 1950s (two-stroke single cylinder) side engine casing which is very simple but has harmonious shapes, I liked the Benelli writing in relief. For many it is certainly simply an "engine crankcase",     I like what I can tell you...

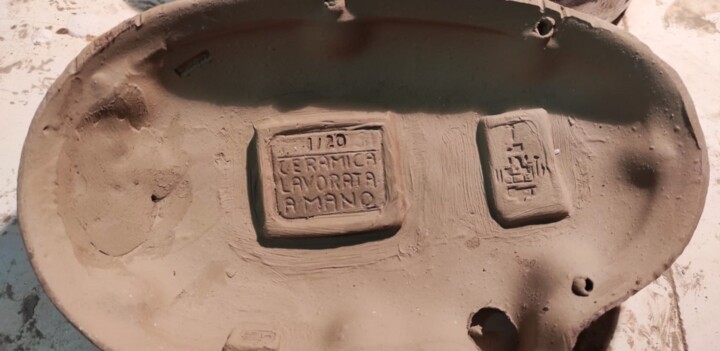
There will be some tests to do before arriving at the final piece, even in this case I will make not many numbered pieces (1/20), also because the mold is delicate, after some time it begins to deteriorate.

If you would like to leave a comment, a suggestion, your personal opinion, please do so, it is always useful.
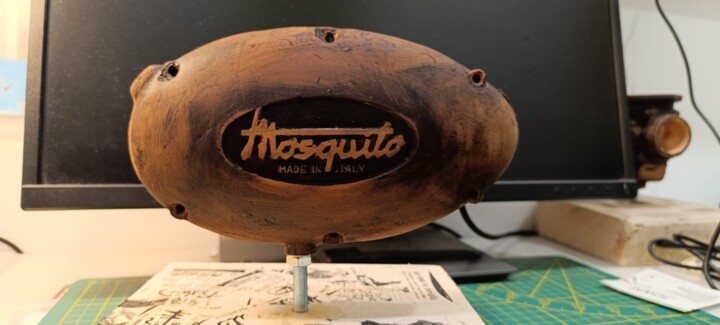
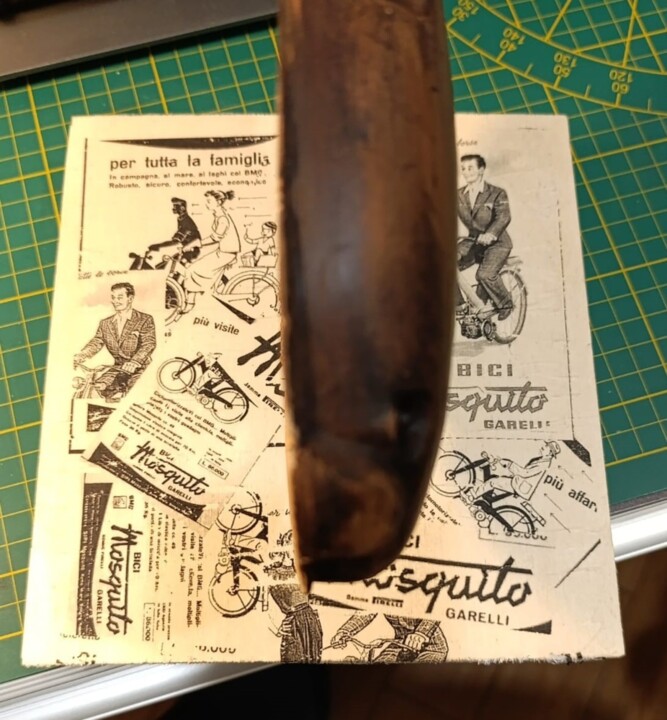
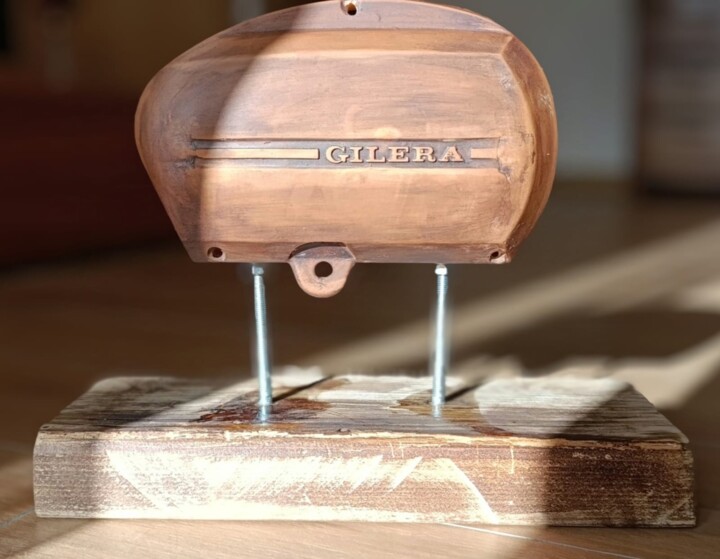
I found some problems in the plaster mold, precisely in the holes used for extraction, the initial repair did not allow the water to absorb well, with the final result that the piece (engine crankcase) was deformed. It seems like a small spot, but it creates a problem in the finished piece. Sanding everything, I redid a plaster cast inside the hole, smoothing everything at the end.
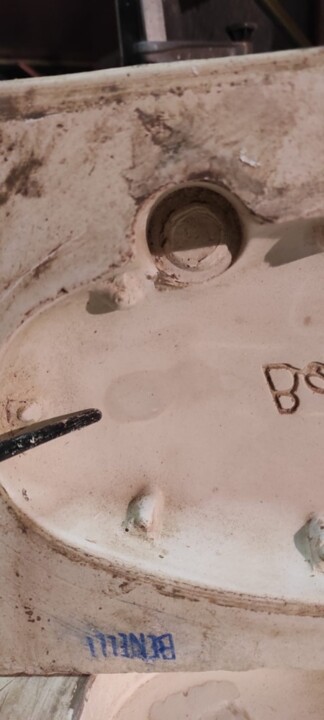

                                   Repair


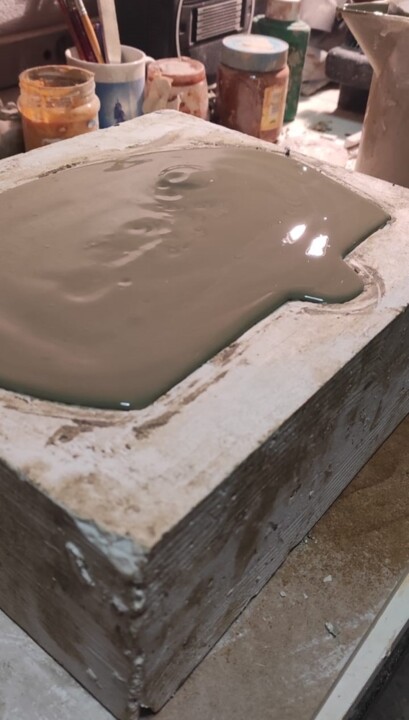
Together with the Benelli I wanted to reproduce a Mosquito engine crankcase, the size is similar to the first one, honestly I really liked the embossed graphics with the wording made in Italy. The mold is already ready and is in a very long drying phase, it takes a few weeks to drain all the water, almost 4 L. of water.
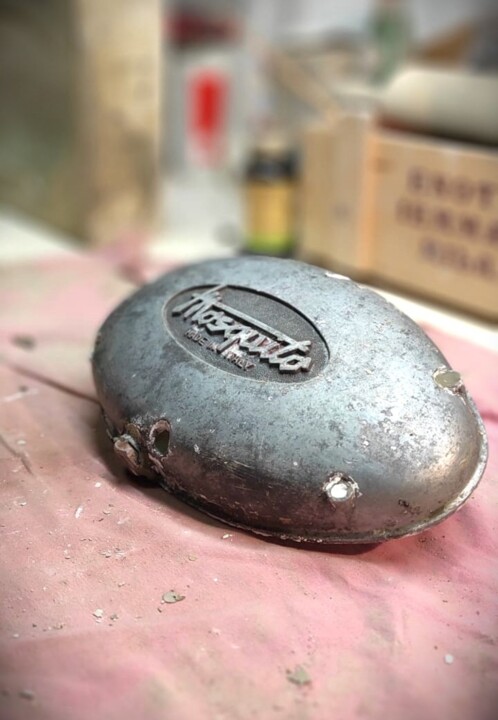
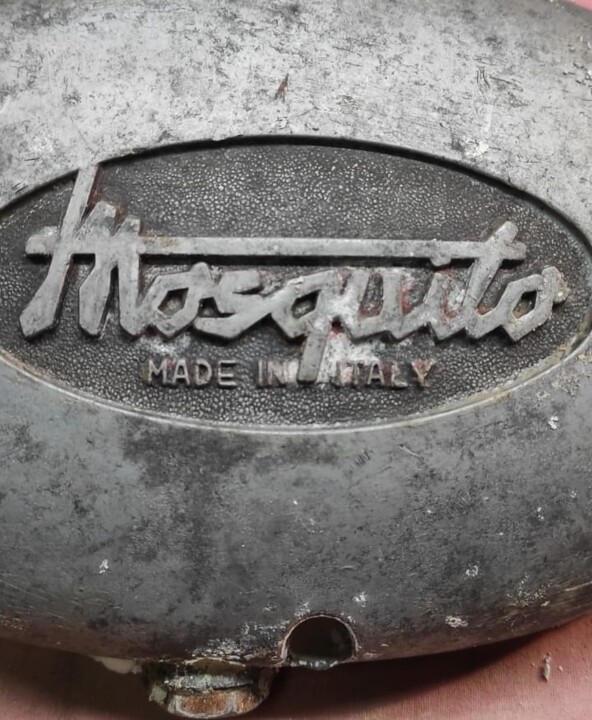


The mold was made for the Mosquito crankcase, I didn't find any major problems, I used a very dense slip, in 1 day the piece was dry enough to remove it from the mold. At first I thought about making this Mosquito a limited edition too, but I changed my mind.
I attach a couple of photos, you can notice the difference once the piece is dry, but it is normal. Naturally, once the piece is dry with a leather-like consistency, it must be finished completely by hand, the piece must be flat. This is just the first piece of the Mosquito crankcase.


Read More

Preparation of the Gilera Arcore casing mold

Added Apr 22, 2024

I am of the opinion that even a mechanical piece has its charm.
This is the reason why I want to reproduce the side casing of a "Gilera Arcore", produced from 1972 to 75.


Initially the piece was completely solid, it was very heavy and a waste of material.
With a second test I did it with the casting system (slip) so that only the edges show a thickness, I like the result...


Once the slip casting slowly dries in the air and hardens, the piece detaches from the mold because the water contained in the slip is absorbed by the mold itself, creating a vacuum, after which you just need to turn the mold upside down and you're done.
By mistake I created a hole that I had to repair with another pour of liquid clay.
Finding the ideal thickness is not easy, the piece must be resistant at the same time as not coarse.

If you wish to leave a comment, your opinion or advice is all welcome

(learning by doing errors)


The piece looks good when it comes out of the mould, once dry the piece loses around 10% of its size and is slightly smaller. The original holes were made.


Personally I prefer to clean and smooth the ceramic once it is dry, with very fine sandpaper I can eliminate small imperfections.


Drying the ceramic is very important, the piece must dry slowly, it should not be placed directly in the sun, so it takes a few days and a lot of patience. On one crankcase I didn't take the central weight into account, and therefore as it dried the central part collapsed slightly.

The last stage is cooking at 1000 degrees centigrade.
I'm undecided whether to leave the raw piece in a ceramic colour, or to enamel it...


Read More

U R B A N Landscapes

Added Apr 16, 2024


In recent years I have become passionate about urban landscapes, both citizens and abandoned works, old Italian restaurants, old service stations, small city shop windows that have now disappeared but have their own hidden charm...

They are small works carried out on cardboard, with markers, pencil, pen, mixed techniques including watercolour, if you wish to leave a comment feel free.


Read More

BING Carburetor Photographs

Added Mar 26, 2024

I attach some photographs of my finished work.

I wanted to reproduce the BING because it is one of the carburetors that I like most aesthetically speaking.
I deliberately left the original color of the ceramic, I only gave it a coat of stain to darken the ceramic joints.
Naturally, ceramic can be painted as desired with any color, even enamelled.
If you like the piece and are interested, give me a shout!

The measurement is taken from the original carburettor, once dry the ceramic shrinks by a small percentage compared to the original piece.


Original carburettor

I wanted to do a different test, open the carburettor where the filter and manifold would go, this way the piece is perhaps lighter...

If you wish to leave a comment, your opinion or advice is all welcome.


Read More

Event poster for Janus Motorcycles Owners Rally 2023 - Goshen Indiana

Added Mar 21, 2024

Janus is an American motorcycle manufacturer, their headquarters are in Indiana, they offer completely handmade  motorcycles  with a unique  and  retro style.  Personalized Janus Motorcycles  2023 annual event poster. The work was done on rigid cardboard with acrylic colours, nothing digital, just old pencil, eraser and colours.


Read More

Finished ceramic firing phase - BING carburetor

Added Feb 12, 2024

The clay parts are dried for a few days, they are fired, once the clay is cooked the pieces are solid ready to be composed.
They can be left raw or painted
In the last phase, all the pieces must be assembled with a two-component glue, then it will be mounted on a pedestal.


Read More

Last phase, clay firing.

Added Jan 24, 2024

The composition of the carburettor and all its parts is finished, the last phase is cooking at 1000°, we're almost there...


        Each piece has been finished by hand, once finished it will be assembled and placed on                                           a pedestal, of course it is just an ornament! Petrol is not needed.


Read More

Analog Collages 2024

Added Jan 8, 2024

Some compositions with newspaper sheets, scissors, a bit of vinyl glue.


Read More

©2024 Schascia | Sitemap |
Powered by Artmajeur